Build personalized applications with Slack’s APIs – Part 1
By Alexandra Martinez
You know what an application programming interface (API) is and why they’re important for your business, right? If not, check out my previous posts Introduction to APIs – Part 1 and Part 2!
For this two-part post series, we’ll go through examples of how to use Slack’s APIs to build our own personalized applications, or apps, to send messages in Slack channels.
Important information
For this exercise, we’ll be using Postman and Slack.
Postman is a tool used to interact with APIs. It has a user-friendly interface for creating Requests and reading Responses without having to know the specific Terminal commands or having to create a program to connect with an API.
Slack is an instant messaging application used by teams within an organization. It has different features that make communication easier; like being able to create topical channels people can subscribe to, private groups for specific people, and much more.
Slack also created its own API to integrate several apps to your workspace, which is what we’ll be going through in this post. Slack apps enhance internal communication and automate all kinds of marvelous or mundane tasks. Learn more about Slack apps here.
Getting started
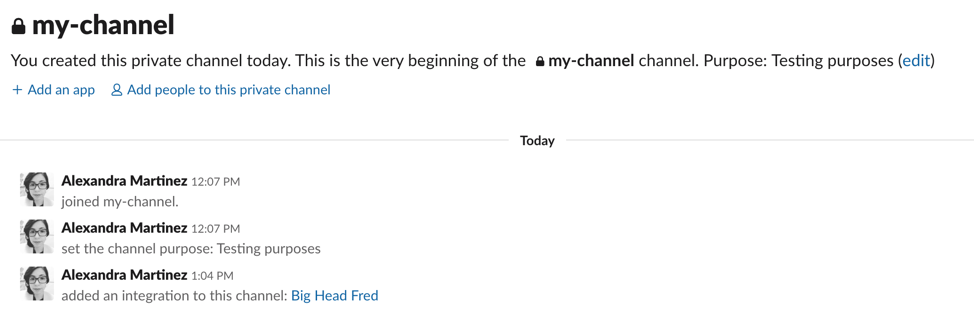
First, create a new channel in your Slack organization. You’ll notice an “Add an app” link, right next to the “Add people to this private channel” link under the channel heading.
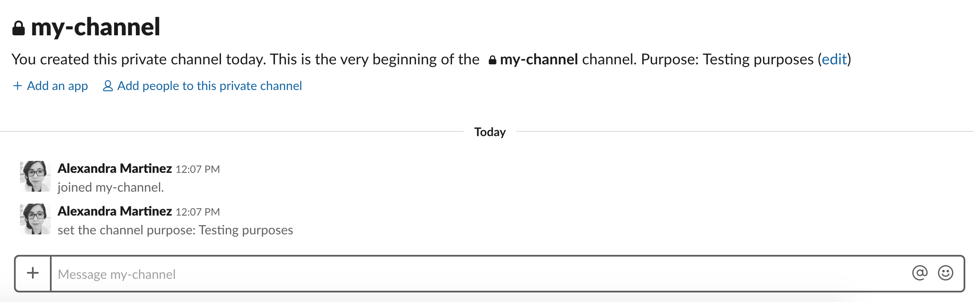
If you click on “Add an app” you’ll notice all the different apps you can integrate with this Slack channel.
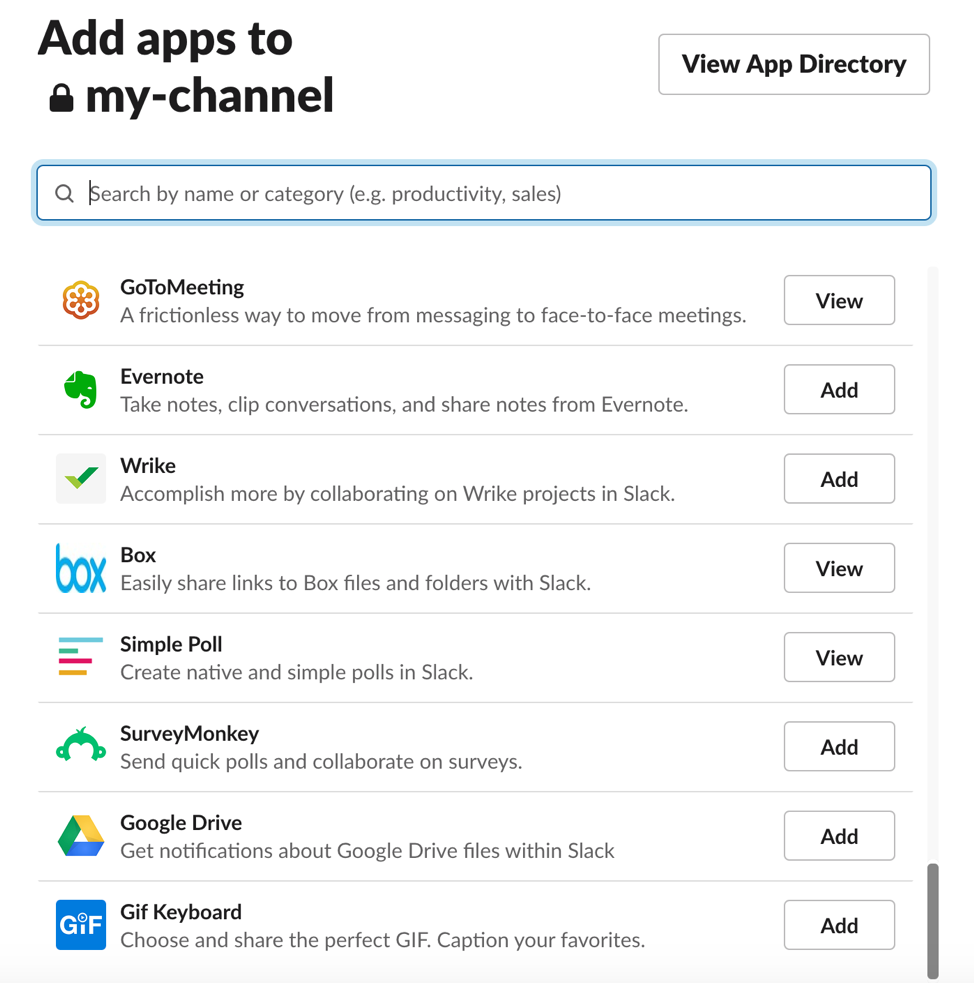
In our case, we’ll be creating our own app to connect to this channel, so we’ll click on “View App Directory”. This will open a browser window for your workspace.
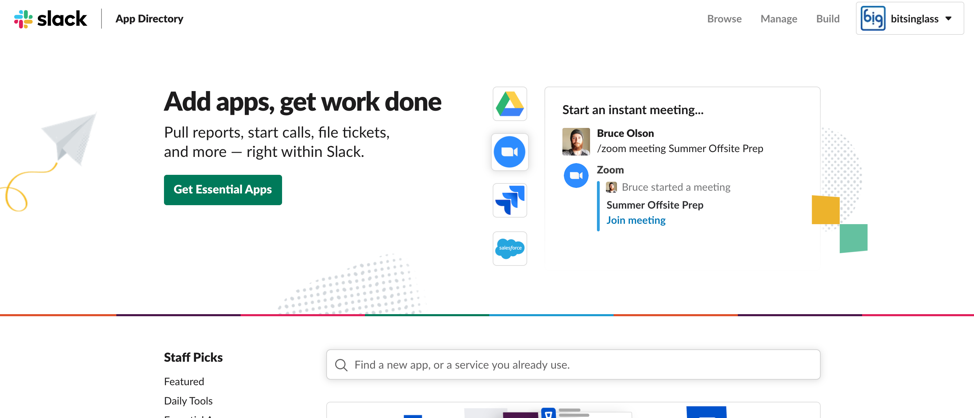
Next, click on “Build” in the top right corner and this will take you to https://api.slack.com/
Creating your first Slack App
Go to api.slack.com and Select “Your Apps” in the top right corner.
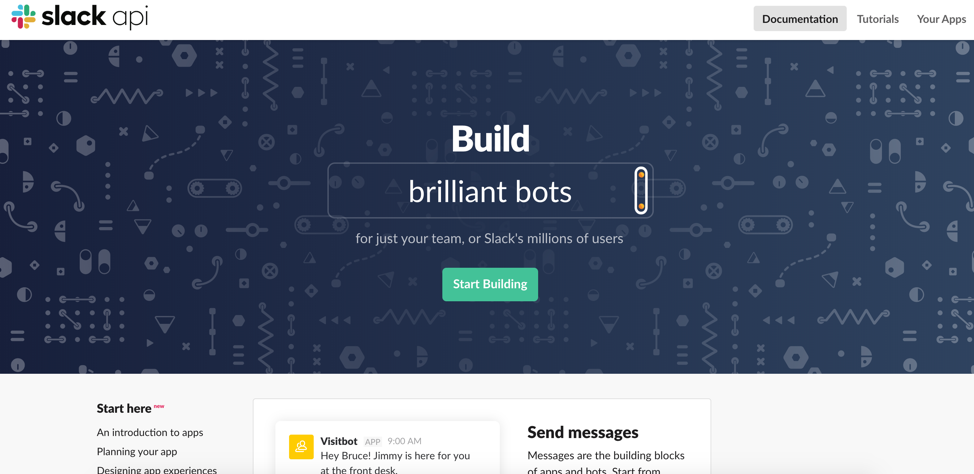
You’ll notice the “Start here” menu on the left. You can follow these links if you want to learn more about Slack Apps. We’ll stick to the basics for this tutorial.
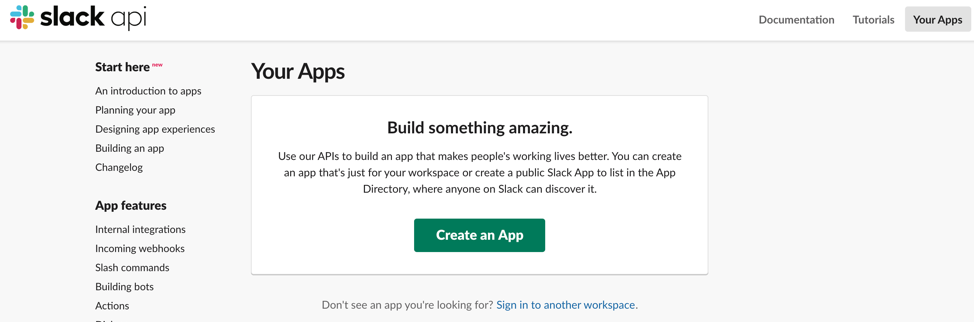
Click the big “Create an App” button, write an App Name and select your Workspace. Click “Create App”.
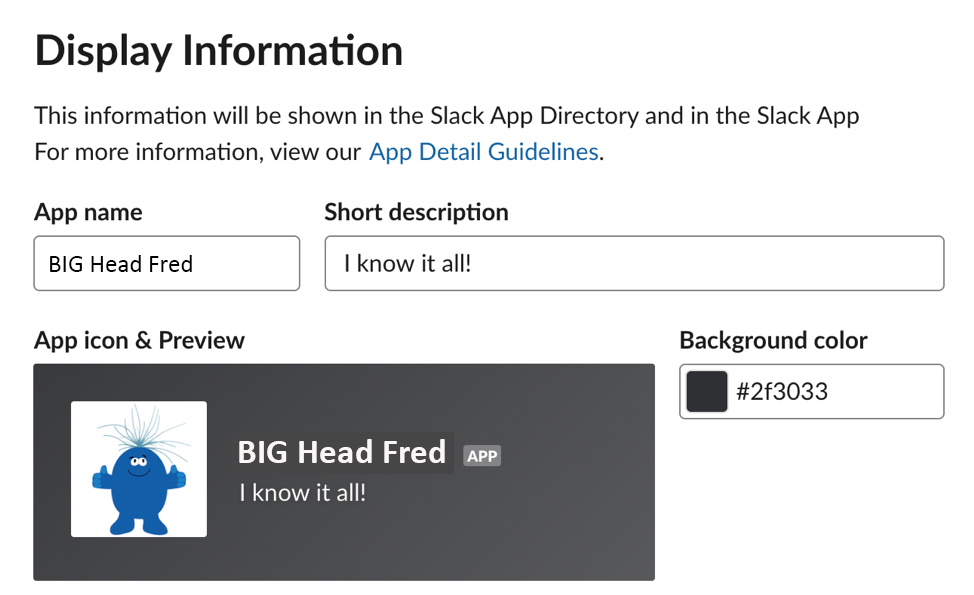
If you scroll down, you’ll see the “Display Information” menu. There you can change the App Name, description, icon and background color. This is just an optional step if you want to personalize it. Don’t forget to click “Save changes”!
Adding a Webhook
Next, we’ll add an Incoming Webhook to post messages to our channel. A Webhook is not exactly an API, but it works very similar in this case. It has a URL, a JSON Data Type, and the operation to send in the Request would be a POST. I won’t get into the details for the purpose of this tutorial, but we’ll see the difference in a following post.
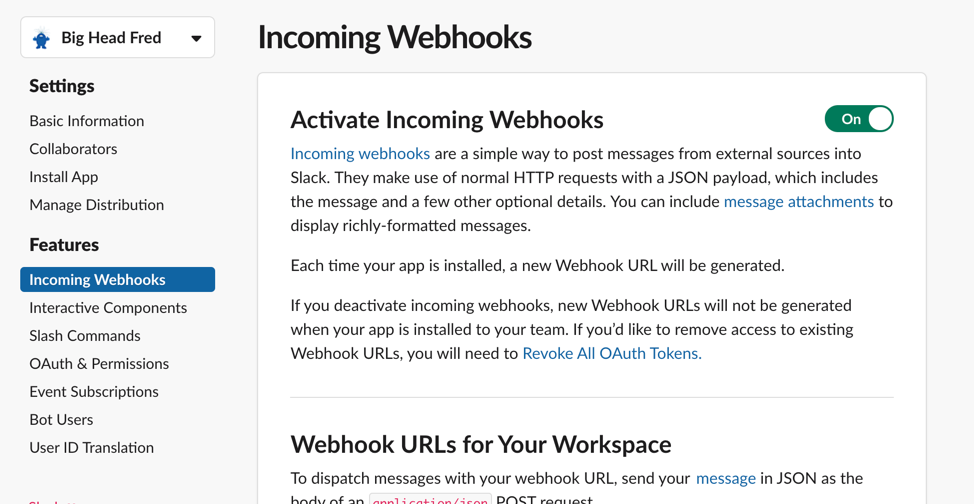
Go to the “Incoming Webhooks” option from the “Features” menu and Activate Incoming Webhooks.
As you can see in the description: Incoming webhooks are a simple way to post messages from external sources into Slack. They make use of normal HTTP requests with a JSON payload, which includes the message and a few other optional details.
Scroll down to select “Add New Webhook to Workspace” and select the channel you want to post messages to. Click “Install”.
Now if you go to your Slack channel, you’ll notice a message saying the new integration was added.
In your webhook configuration, you’ll also notice that you now have a Webhook URL to send messages to that channel.
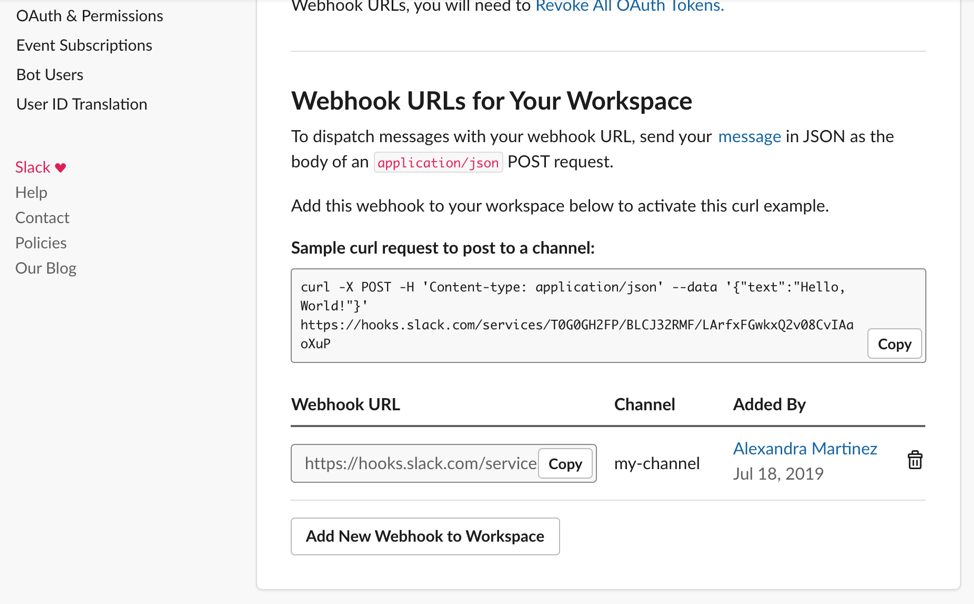
Testing the Webhook
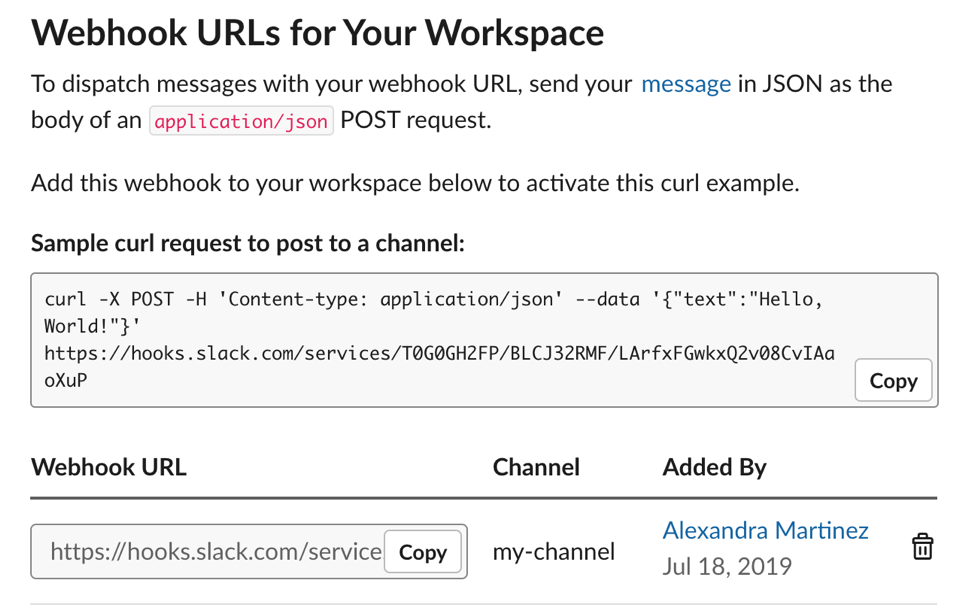
You’ll notice there’s a Sample curl request to post to a channel. We can take this information to send the message using Postman. To learn more about curl, you can go to the official website.
Remember how we talked about the below four aspects of an API in my first blog post? It’ll all come together with this example
- Inputs
- Operations
- Outputs
- Data Types
As I mentioned earlier, a Webhook is not an API, but they work the same for the purpose of this tutorial. They both have the four aspects of an API in this specific case.
In order to send a request to an API, we need to have the following:
- A URL to connect to the API (where do we want to connect to?)
- The Operation to call the API
- In this case it’s a POST, you can tell from the curl sample, because it comes after the “-X”). To learn more about the HTTP Methods check out Tutorials Point
- The Data Type that we’ll be sending for the input
- In this case it’s application/json, you can tell from the curl sample, because it comes after the “Content-type”
- The actual content that will be sent in the input request
- In this case we take the text inside the single quotes that is after “data” from the curl sample. This is a JSON body
If you had trouble understanding that explanation please read my first post where I explain the basics of an API.
Using Postman
After identifying these requirements for the request, we can configure them in Postman.
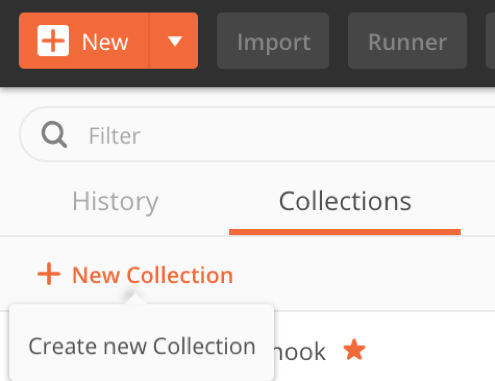
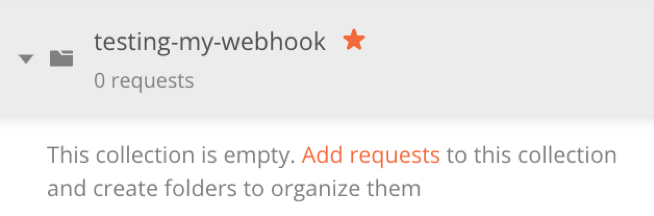
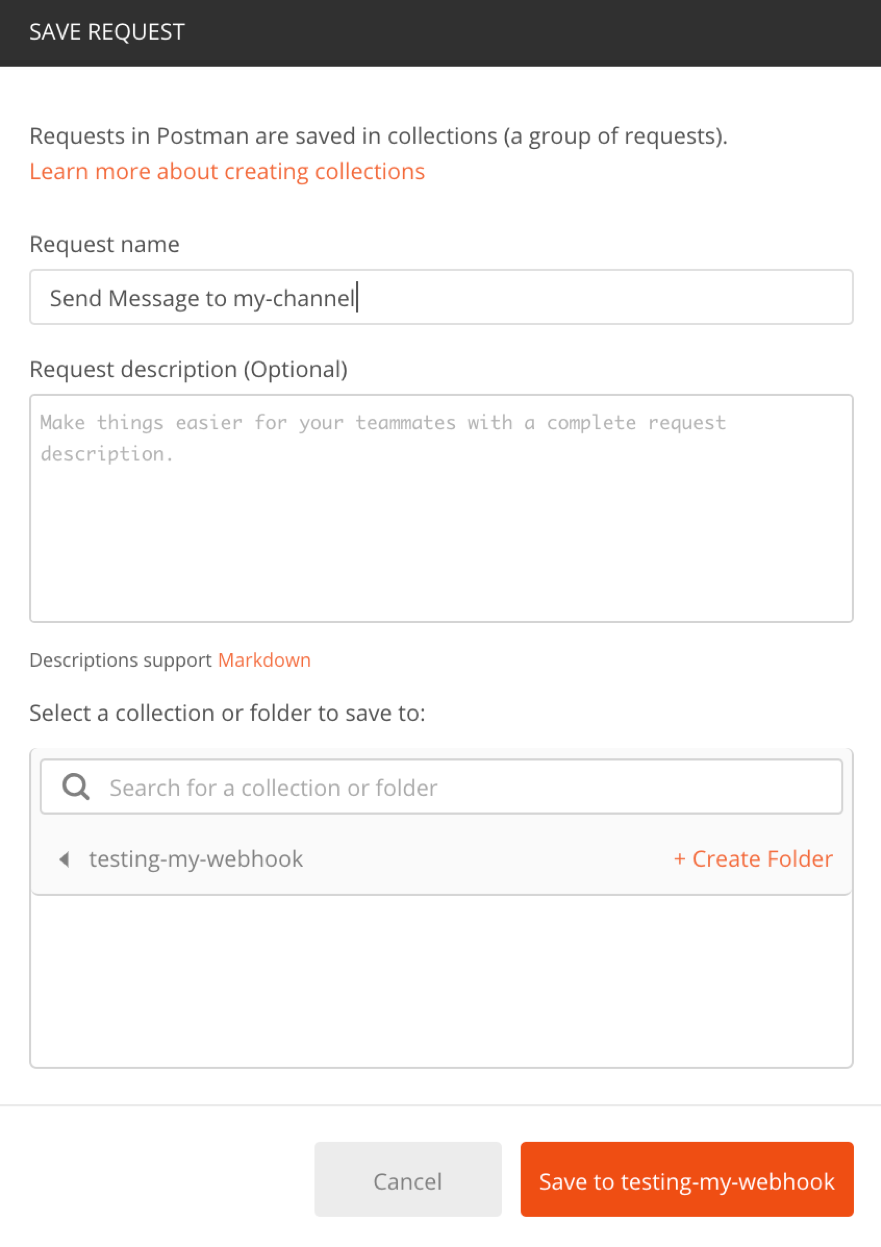
Within your account in Postman, create a new Collection (this is nothing more than a folder to keep your Requests).
Add a new Request.
Give the new request whatever name you want.
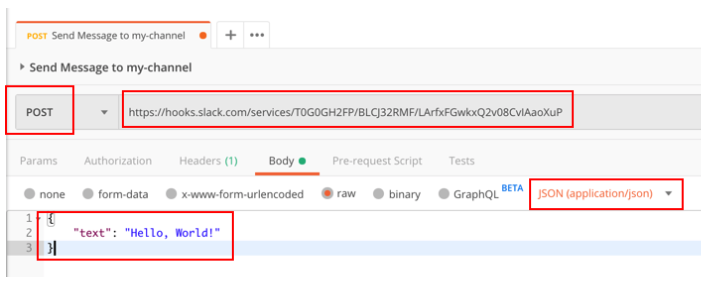
Now that you have your empty request, we have to set the operation, URL, data type, and content that we identified before. It will look something like the following:
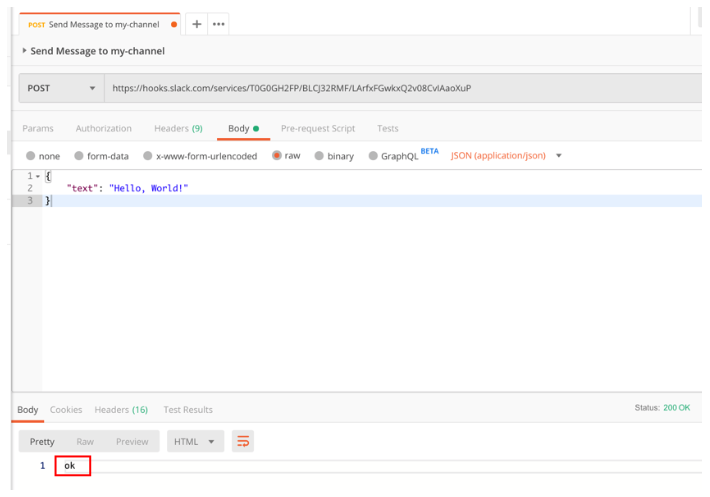
If you click on “Send”, you will see your response from the Webhook. In this case, you just receive an “ok” back (see the bottom of the image below), so you know that the operation was successful.
To be sure, you can go back to your channel and you will see the message you sent from your app.
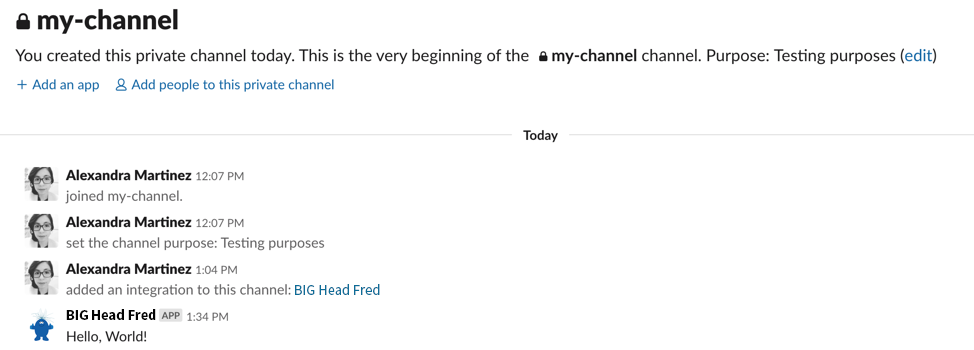
You can play around trying to send different messages just by changing the text from the Postman Request.

Well that was exciting, wasn’t it? I hope this tutorial was useful to you, and you got to experiment a bit with Slack apps and Postman.
To recap, a webhook is not an API. An API is built to do several operations with several resources and/or data types. For example, a calculator can take different numbers and different operations to provide a result.
Slack’s Incoming Webhooks are used to post messages into specific channels in your workspace. The webhook we created will always do the same operation, to the same URL, and will always post the message to the same channel. Although, for this exercise, they work the same when we use Postman. They both have a URL, an operation, a data type, and they both send back a response.
Check out my next post where we continue working on our app to add more functionality. While you wait, feel free to keep on experimenting on your Slack app!
Here are the links I used in this post so you can learn more about the terms, tools, and applications:
About the author

Made in Mexico, Alexandra enjoys learning new technologies and is always looking for new challenges. She loves statistics because she’s bad at them, so they keep her alive (an eternal challenge). Her natural habitat, however, involves watching Netflix and playing video games.